


Lesson 1: Never put ashes from a fireplace into anything other than a metal container or you may come really close to starting a house fire.
First, in my defense, I did not grow up in a rural area. I did not grow up in a cold area. I grew up in the sprawling suburbia of southern Florida. We did not have fireplaces. There were a few people who did, but these fireplaces were for show. Heck, there were only a few days a year you could actually light a fire in a fireplace, and then you probably had to open a window due to overheating. The last few months, living on a rainy, windblown island in the North Atlantic in a house with no central heat, we have relied on the fireplace to warm up our living room. And true to its name, this is the room where we have lived the most due to the fireplace and its warmth.
So, back to the lesson… I cleaned out the fireplace a few mornings ago, and just like every other time for the last few months, I placed the ashes into a plastic bucket. I typically carry it outside and dump it in the compost bin. This time, because it was raining and cold and windy, I didn’t bring it out right away. In fact, I placed the bucket in a big box where I keep old packing paper that I use for kindling. Later that evening, about 10 hours later, I went upstairs and smelled something burning. It smelled a bit like wood and a bit like plastic. I wasn’t really sure. My wife and I walked all around the room trying to locate the smell, but we couldn’t locate it. Another hour passed, and I sat down to read, but the smell was stronger. I climbed around the room, smelling receptacles and light sockets. And then I came to the box with the bucket of ashes in it. The smell was really strong in there. I lifted the bucket up, and the entire bottom of the bucket fell off. Strands of melted plastic, like cheese on a pizza, dripped all over. In the center of it all was a big pile of ashes and a few dozen bright orange embers, still very much alive. In fact, my lifting the bucket gave those embers new oxygen and a new life. The paper in the box, now covered with hot embers started smoldering. I carried the box outside to the concrete porch just in time for some of the papers to ignite. Now I see why I always saw metal buckets for ashes in old movies and at historical sites.
House fire barely avoided. Lesson learned.


Lesson 2: You can find free gardening material all over the place if you take the time to observe, but if you are lazy you may come really close to missing out.
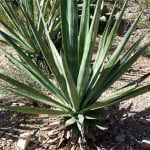
This is a perfect illustration of Permaculture Principle #: Observe and Interact. Within a one minute walk from my front door is a patch of giant reeds. The top photo was taken the past summer. I had been telling myself to go over there for months and get some. Well, fast forward about 6 months, and the patch is only about half green. The cold and wind has killed off most of the reeds. Unfortunately, about half of the dead reeds were blown to the ground and are mostly rotted. Luckily, there were still quite a few in good shape. I grabbed a bunch and brought them back to my house. I cleaned them, stacked them, and I am letting them dry out some more until I need stakes and supports for my Spring and Summer garden. It cost me all of twenty minutes! If I waited another few weeks until after the next big wind storm, I may have missed this opportunity. So the key here is to not just observe, but get off my butt and interact!

Lesson 3: You can find uses for “waste” items if you really try, or if you have someone give you the idea first.
I have been running out of kindling for the past month. I had a few boxes of kindling that my father had prepared and saved for me this Summer when he visited, but I finally ran out a week ago. Again, I never used a fireplace on a regular basis until now. I had no idea how much kindling I was going to need. For the past week, I have been using all kinds of scraps of wood and cardboard. I have been getting pretty good at starting fires with less and less. In fact, I have been pretty proud of how good I have become at starting roaring fires with almost no kindling. But my meager supplies have been getting pretty thin. Finally, I spent half a day chopping firewood with a hatchet (no, I don’t own an axe yet!) into smaller and smaller pieces for kindling. I rather enjoyed the work, but it took quite a while. Then my neighbor told me to use the dried reeds for kindling. “They burn great!” she said. This is what finally got me off my butt to go get the reeds mentioned in Lesson 2 above. Well, I kept all the trimmings from the reeds I cleaned. What I would have put in my compost bin is now perfect kindling. And it took me about ten minutes to get a full box. Perfect use of Permaculture Principle #6: Produce No Waste. Great ideas don’t have to be your own!
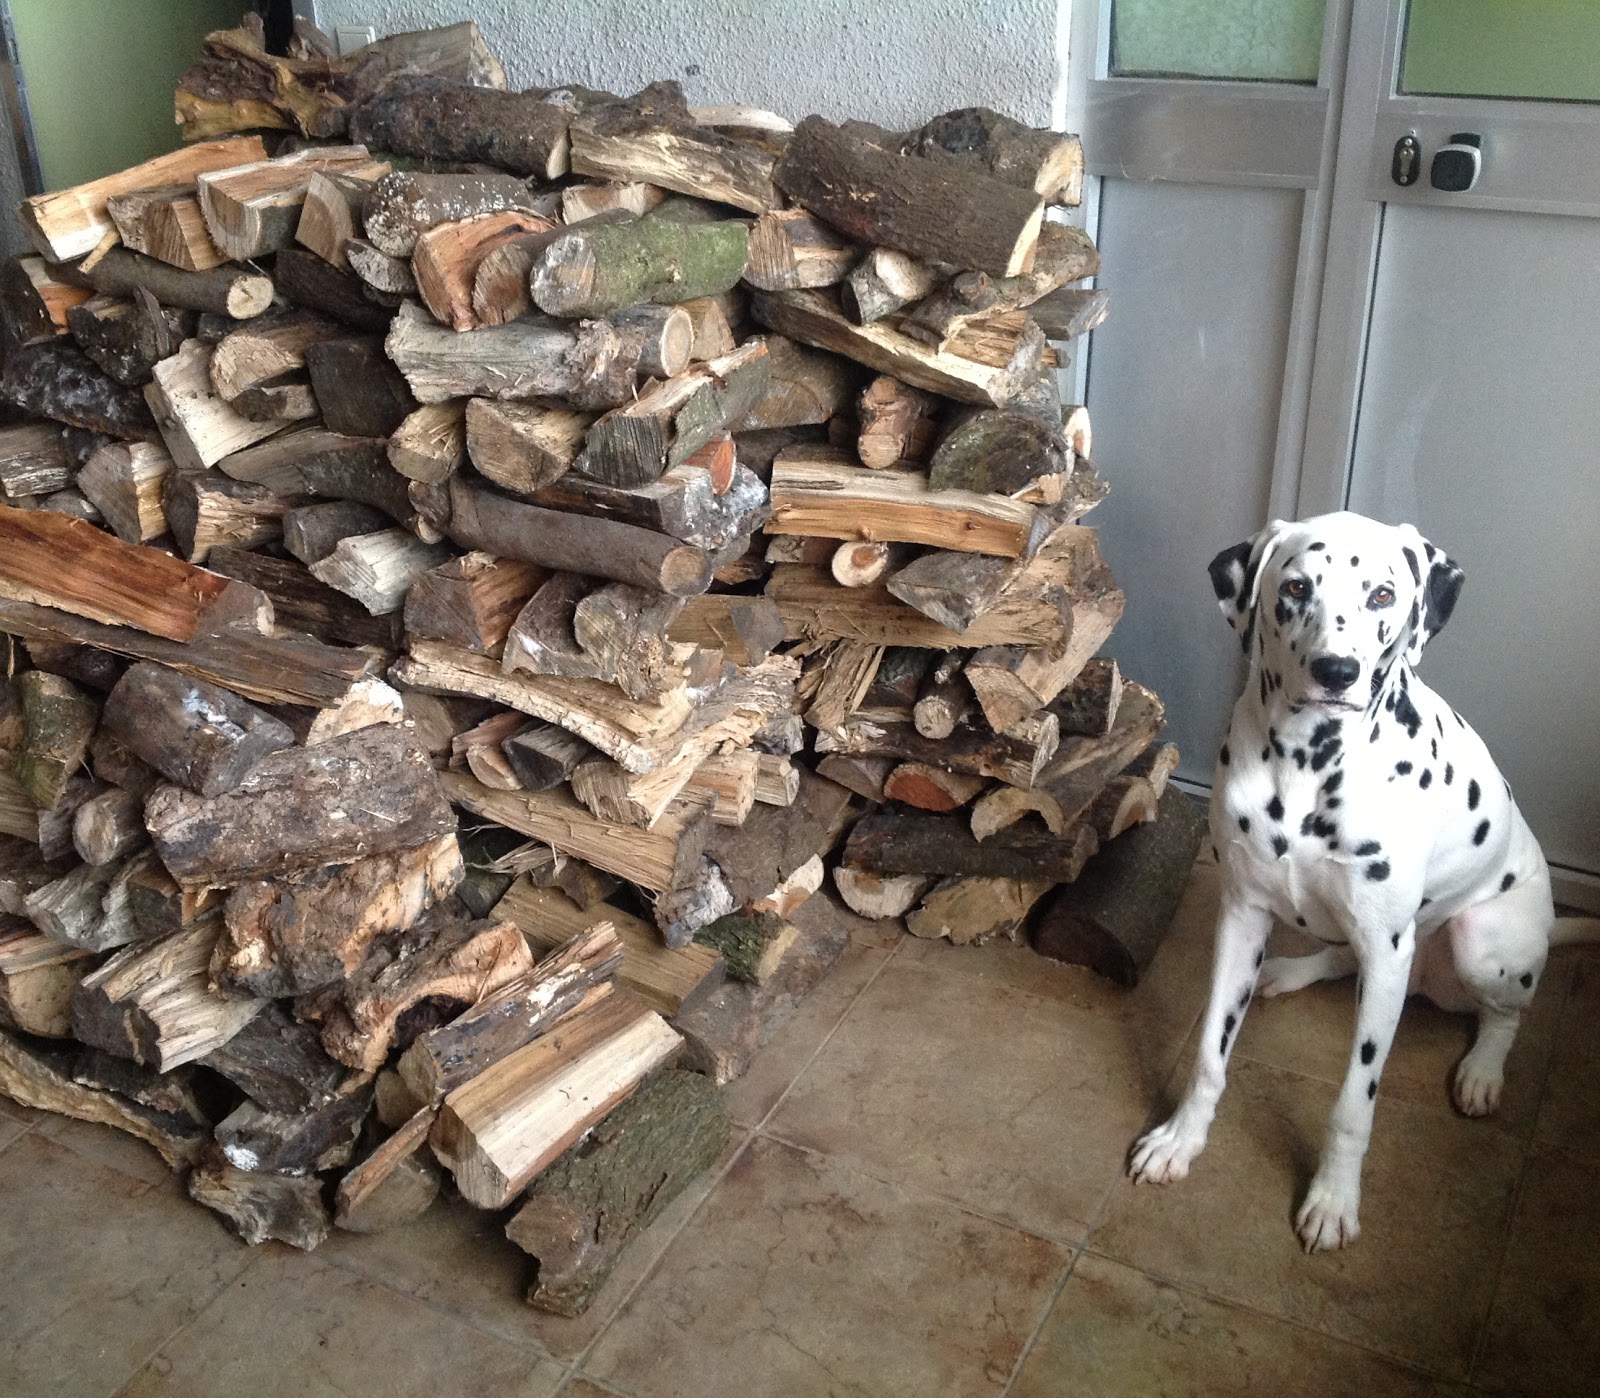
This was something I knew if I would have thought about it for more than a few seconds, but I did not. I recently purchased a pick-up truck of firewood from a local family. It was very good quality wood for an excellent price (about $45 US Dollars). The three guys who delivered it dumped it in a relatively neat pile in my garage. They wouldn’t let me help them unload it. I tried, but they kept waving me off as if this was part of the delivery price and I had better not try to help or I would greatly and deeply offend them. So I let them pile it in the garage. Unfortunately, the pile of logs did not allow good airflow. After finding a bunch of mold and fungus growing on some of the logs, I decided to restack the pile. This meant I had to move the whole pile away from the wall first and then restack it the right way in the same spot. That was just a little frustrating. However, within just a few days, the logs have already started to dry. Next time, I’ll have this great family pile the wood outside. Then I will only have to stack the firewood once!

Lesson 5: A bicycle pump will inflate a flat spare tire… eventually.
This was a beat-myself-over-the-head moment. My van got a flat tire. I jacked up the car and took off the flat. I easily put on the spare. My boys were hanging out in the driveway with me having fun and laughing that small spare tires are sometimes called “donuts”. I lowered the jack and heard my oldest son, who is four years old say, “Daddy, the donut is flat too!” I have to be honest. I have been giving my friend a hard time for the last few months because his jeep got a flat tire after we had dropped him off at the airport, then his jack wasn’t large enough for his jeep (I had to use the jack from my van), and then his spare was flat! How clueless? How unprepared? How… ironic! Fortunately, I had my trusty Power Box in the back of the van! (You can read about how I bragged on this machine in this article) Well, as it turns out, the Power Box is pretty lousy at inflating tires even if it is good at jumping dead batteries, but maybe I just have a bad pump in mine. Either way, it didn’t work. Now what? Well, I thought I would give the bike pump a try. Note that I did keep the spare up on the jack while I inflated it, so I didn’t have the weight of the car on the tire at the same time. As it turns out, this will work. It took me about 10 minutes, but it resulted in a fully inflated spare tire… and some really burning muscles. Another side lesson: check the air in your spare tire from time to time.


